
Most printers that work with Macintosh computers are plug and play, meaning the Macintosh operating system will automatically detect the printer and download the necessary software. For other printers or network printers, you may have to complete the steps below.
For these instructions, you must know the printer’s IP address or host name, printing protocol, and model number or printer software name. You can locate this information by having your printer print a “Configuration Page.” Information on how to get your type of printer to do this can be found here.
1. Prepare your printer by using the instructions it came with to plug it in, install ink or toner, add paper, and turn it on.
2. To add your printer to the list of available printers, choose the Apple menu and select “System Preferences.”
3. Select “Printers & Scanners.”

4. Click the “+” button in the lower left-hand corner to add a printer.
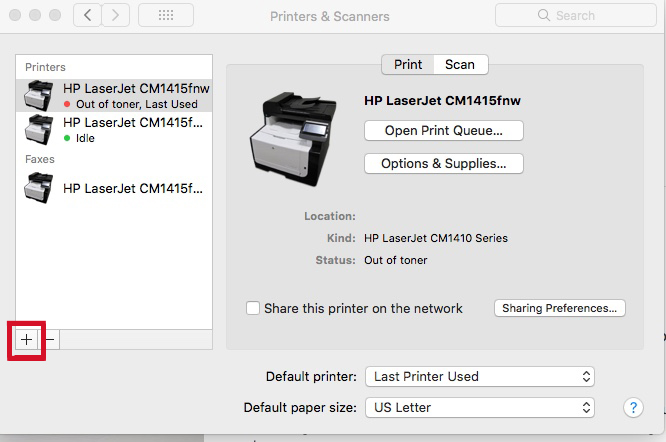
5. A new window will appear on your monitor.
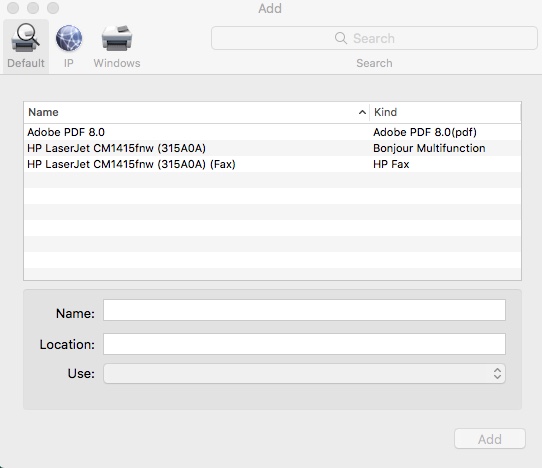
6. Click on “IP” in the upper left-hand corner of this window.

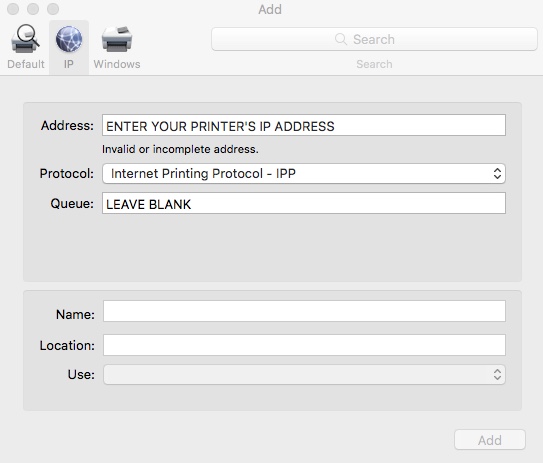
7. Enter the printer information.
Leave the protocol as IPP (Internet Printing Protocol) and leave as is. By the time you finish typing the IP address in the top line, you will see a message at the bottom of the screen indicating the system is gathering printer information. You will not see that message until the IP address is fully typed.
8. Add the printer
Once the communication has been established, you should be able to see the model of your printer or a
generic type of driver if your MAC system is not updated. After that click on the “Add” button at the
bottom right side of the screen.

9. Once the setup is done, you will see the available printer in GREEN and ready to be used. If you see ayellow button, that means there is something wrong on the printer side (could be a paper jammed, low
tonner or out of paper).

10. Now your system is ready to print in the installed printer. Whenever you are browsing a website, viewing a photo, or working on a document, you can go directly to the “Print menu” by pressing the Command and the “P” keys at the same time.

When you see the “Print menu” click on print in the bottom, right-hand corner and the job will be printed.
